
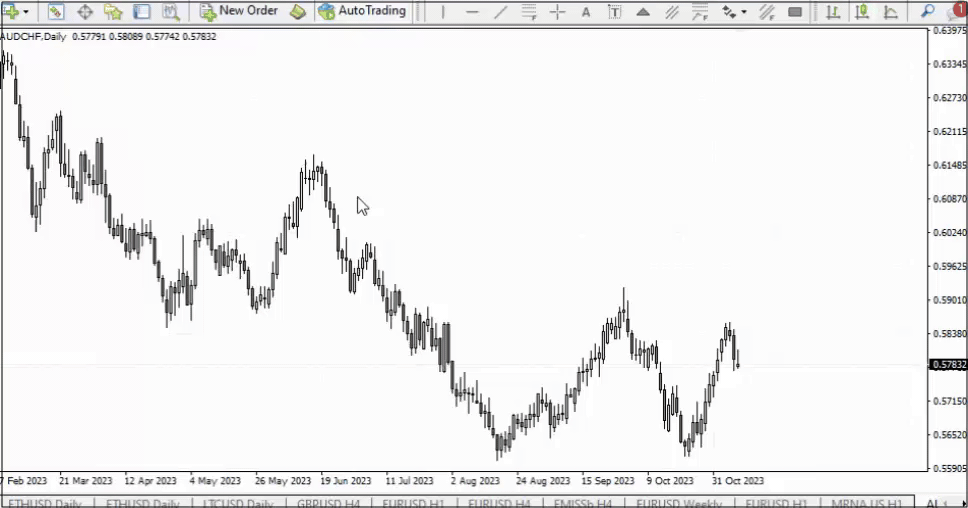
Buying and selling Historical past – A program for buying and selling and cash administration primarily based on the historical past of quotes. It could possibly work with pending and rapid orders, and is supplied with trailing cease, breakeven and take revenue capabilities.
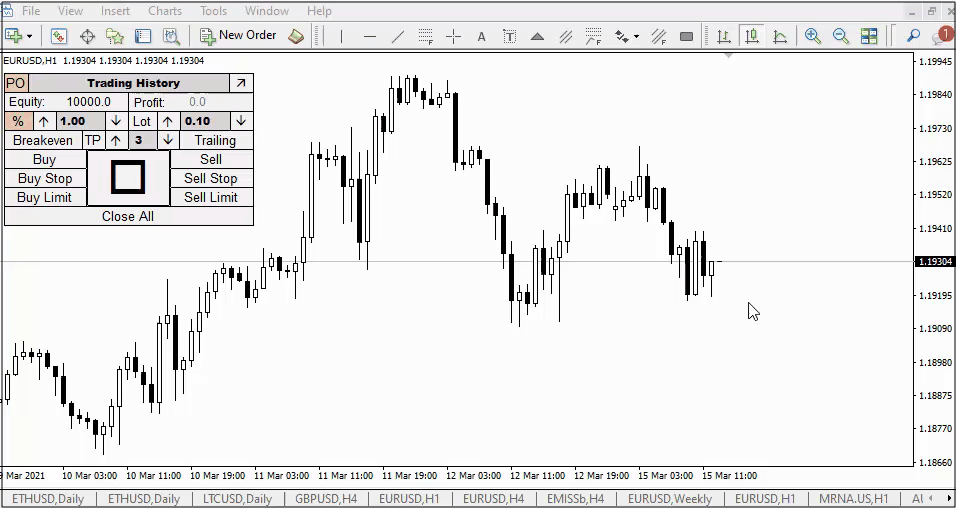
The panel is meant for buying and selling solely on foreign money pairs
At present, the panel is out there just for the Meta Dealer 4 buying and selling terminal.
Let me remind you that this system has a demo model that works with full performance on the GBPJPY foreign money pair. You possibly can obtain the demo model by clicking on the “Free Demo” button beneath the indicator brand.

Buying and selling. Preparatory stage
To begin buying and selling on quote historical past, you have to pre-set up the terminal:
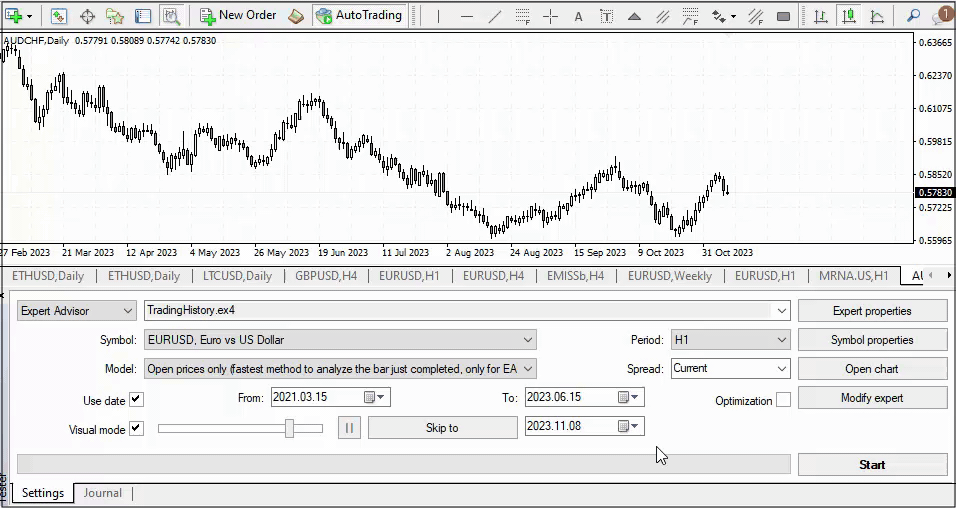
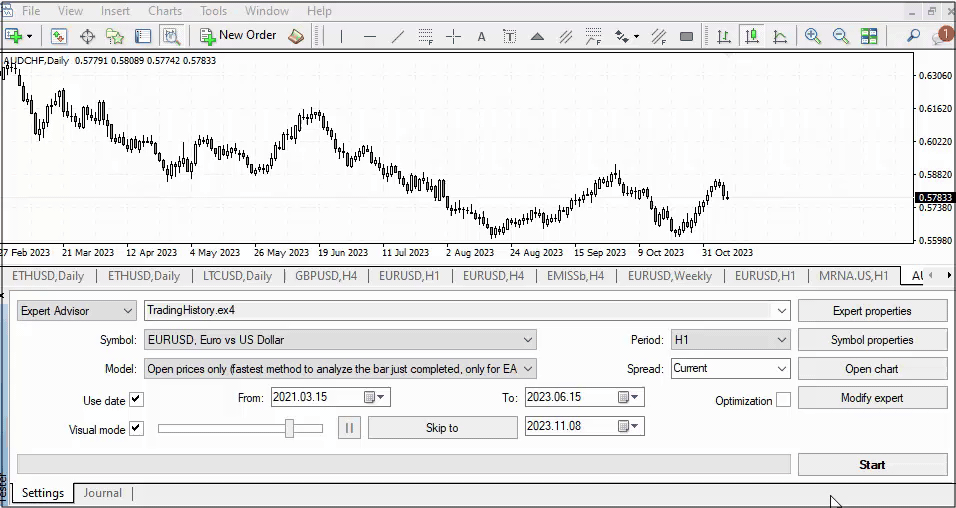
- Open the “Technique Tester“
- Within the tab on the left, choose “Skilled Advisor” – “Market” – “Buying and selling Historical past“
- Choosing a buying and selling instrument. For instance “EURUSD“. If you’re utilizing the demo model, then choose “GBPJPY“
- We choose the timeframe on which we’re going to commerce. For instance “H1“
- Choose Take a look at Mannequin. For instance, “Open costs solely“
- Choose the beginning and finish date of testing. For instance 2021 – 2023
- Activate the checkbox subsequent to “Visualization“
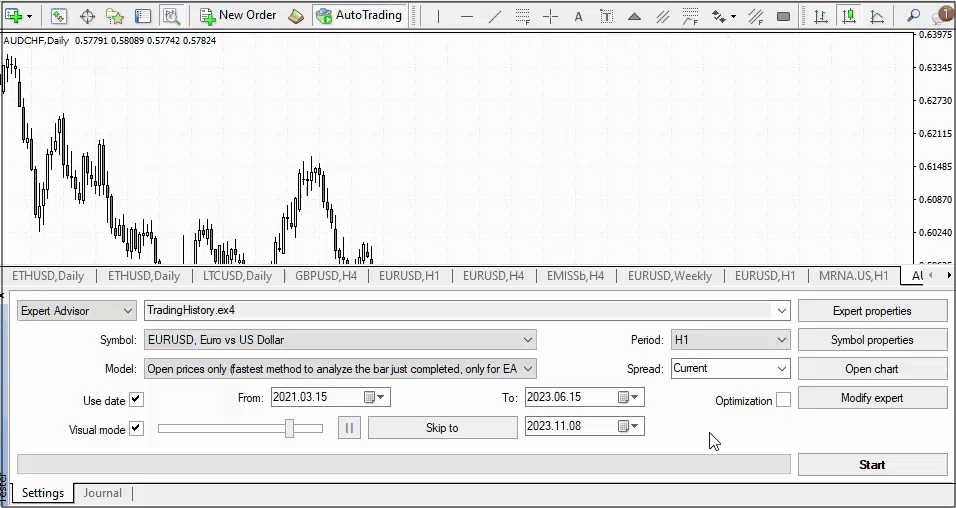
First begin
After finishing all of the settings, you will need to click on on the “Begin” button, which is able to begin testing. Please be aware that on the underside left there’s a velocity slider that may be modified to hurry up and decelerate testing.
It’s also possible to pause it, which is what you will have to do.
F12 button
By default, the chart strikes mechanically, however for full-fledged buying and selling on historical past, this technique of labor shouldn’t be appropriate for us. Due to this fact, after clicking on the “Begin” button, instantly cease the worth motion by clicking on the pause button (two vertical strains).
After this, you may shut the tester panel in order that it doesn’t disturb you. We are going to obtain new quotes manually by urgent the “F12” button on the keyboard. Thus, throughout buying and selling, once we need to take into consideration making a buying and selling choice, the quotes will stand nonetheless. And once we resolve to see what occurred subsequent, we press the “F12” button and manually quick ahead the quotes into the long run. See instance under:
Please be aware that on most keyboards the “F12” button will work with out issues. That being mentioned, there are some laptop computer or keyboard fashions that change the default worth of the “F12” button. On some laptops, the “F12” button could also be accountable, for instance, for rising brightness or sound.
In such conditions, with a view to return the default worth of the “F12” button, you have to go to the keyboard properties of your machine. As a second choice, I can suggest assigning the “F12” buttonto one of many facet buttons in your mouse, if any. That is how I work and it’s way more handy than utilizing the keyboard.
Customization
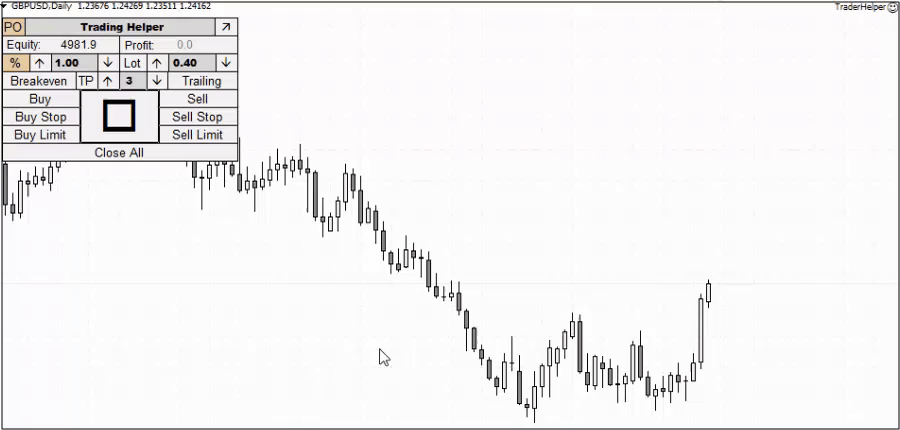
If you’re not glad with the green-black gamma, then you may change it within the display screen parameters. It’s also possible to change the bars to candlesticks, or, if desired, to a line chart. The grid could be eliminated utilizing the important thing mixture “Ctrl + G“. See the instance under:
Including indicators
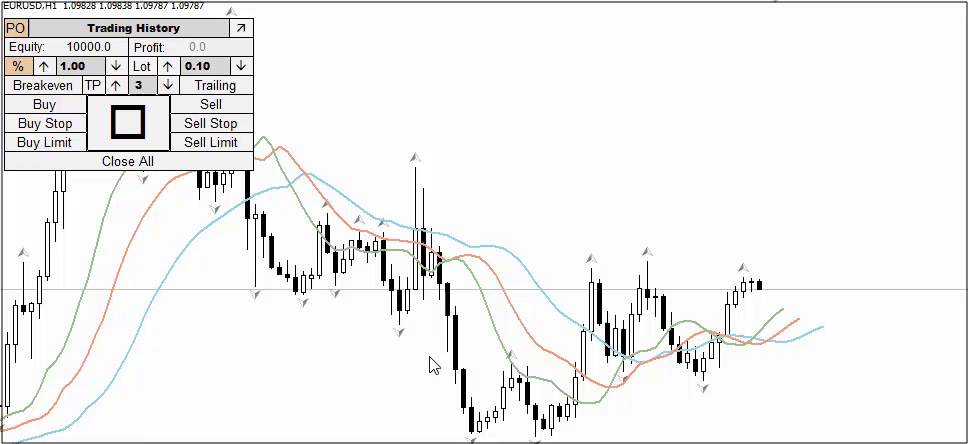
Relying on what technique you’re testing, chances are you’ll want indicators on the chart. They’re added to the chart within the technique tester in the identical method as to an everyday chart. To do that, click on on the “Insert” – “Indicators” button and choose the one you want. Under, utilizing the instance, I’ll add the “Alligator” and “Fractals” indicators to the chart.
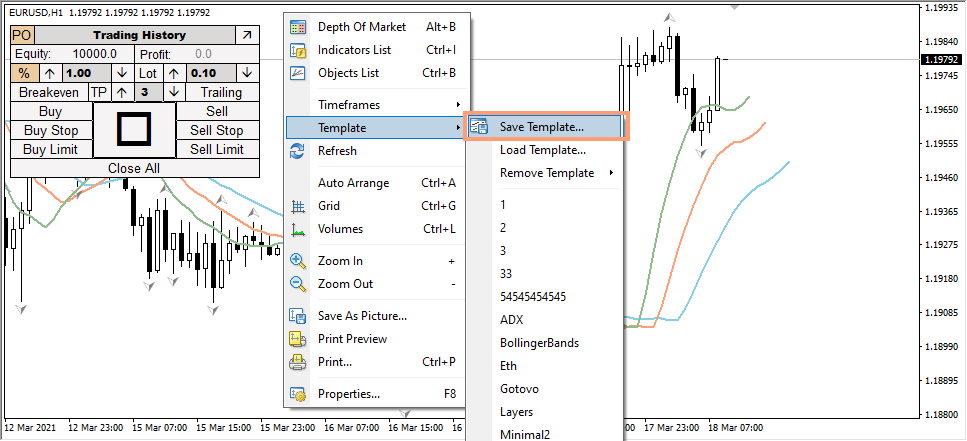
Prepared-made templates
To keep away from having to regulate the looks of the chart each time earlier than testing, it can save you it right into a template together with all the indications which might be on it. To do that, after establishing a chart on historical past, right-click on the display screen and choose “Template” – “Save template”. Give the template a reputation and put it aside to the default folder.
Loading templates
For every buying and selling technique that you’ll take a look at, I like to recommend getting ready a set of templates you could load onto the chart in a couple of clicks. Within the instance under, I’ll load a template with the “Fractal” and “Alligator” indicators. See how shortly you may get your chart prepared.
Loading quotes
In some instances, whenever you attempt to begin testing, the tester might merely not begin. This may increasingly occur since you chosen a date that’s too outdated and there are merely no quotes within the terminal to check it. Most frequently, the terminal hundreds quotes by itself, but when it doesn’t do that, then you have to assist it and cargo quotes manually.
That is achieved very merely. Lets say that we’re going to commerce the GBPUSD foreign money pair and for this we want all obtainable quotes for this instrument.
Go to “Instruments” – “Historical past Middle” – Search for the specified foreign money pair – Choose the specified timeframe and click on load.
Make it possible for the identify of the instrument you plan to commerce precisely matches the quotes you obtain. Folks typically make the error of downloading quotes, for instance for GBPUSD, and buying and selling GBPUSD.m.
Buying and selling devices
Some brokerage firms don’t permit buying and selling of some quotes. Due to this fact, if panel doesn’t work in your dealer’s terminal, attempt to change quotes(for instance EURUSD.m to EURUSD). If this doesn’t assist, obtain the terminal of one other dealer.
It’s simple to verify whether or not our panel works to your dealer. Obtain the demo model of the “Buying and selling Historical past” program and run it on the GBPJPY foreign money pair. If the panel works usually, then all different quotes will even work after buying the total model.
Having handled the preparatory stage, we are able to transfer on to the outline of the buying and selling panel itself:
Cash Administration
The panel offers two methods of cash administration:
Mounted % Technique
The essence of the strategy is that one buying and selling operation all the time makes use of the identical danger, which is about on the indicator panel. By default it’s 1%, however you may improve and reduce it utilizing the up and down arrows. The lot dimension on this case will rely on the scale of the Cease Loss. The upper the Cease Loss dimension, the decrease the lot dimension. The smaller the Cease Loss, the larger the lot dimension.
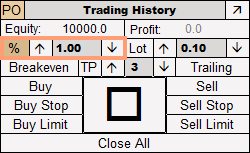
Default share change step = 0.5. May be modified within the exterior parameters of the indicator. The “stepPercent” parameter is answerable for this.
Buying and selling Lot
Implies using a predetermined buying and selling quantity. To activate this cash administration technique, click on on the “Lot” button. The default quantity = 0.1 lot and could be modified utilizing the up and down arrows.
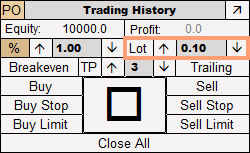
The lot change step could be modified within the exterior parameters of the indicator. The “stepLot” parameter is answerable for this.
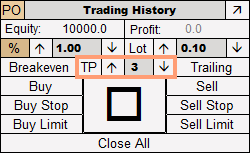
TakeProfit, Breakeven, Trailing Cease
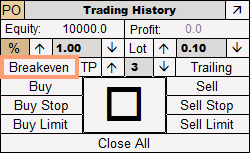
“Breakeven” – answerable for shifting a commerce to breakeven. As quickly as the worth strikes into the constructive zone inside the vary allowed by the dealer, clicking on the “Breakeven” button will transfer your Cease Loss to the commerce opening degree.
“Trailing” – permits the “Trailing Cease” perform. When the worth passes a sure vary (for instance, 500 factors on the fifth image after the dot or 50 factors on the fourth image after the dot), the worth strikes to the commerce opening degree and strikes together with the worth because it strikes.
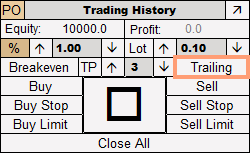
You will need to be aware that for various foreign money pairs the trailing cease parameter should be chosen individually, since totally different devices have totally different volatility. The scale of the trailing cease is decided by the “Trailing” parameter within the exterior parameters of the panel.

“TP” – answerable for setting the “Take Revenue” order. The default ratio is 1 Cease Loss = 3 Take Revenue. Whenever you click on on the “TP” button, Take Revenue can be set. The ratio of Cease Loss to Take Revenue could be modified utilizing the down and up arrows.
Commerce orders
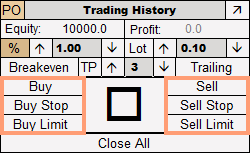
The panel is able to opening each rapid and pending orders. At present obtainable:
- Purchase
- Promote
- Purchase Cease
- Purchase Restrict
- Promote Cease
- Promote Restrict
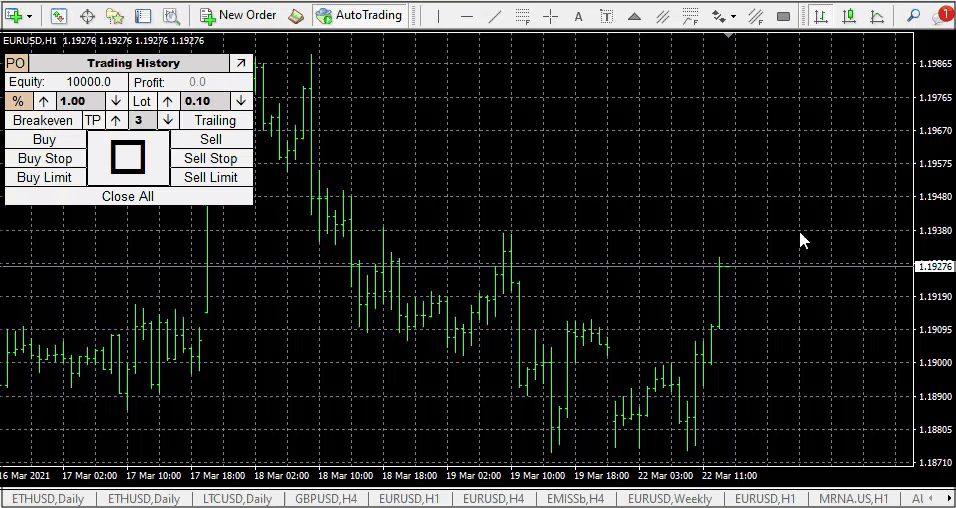
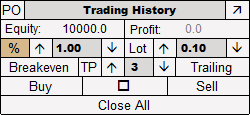
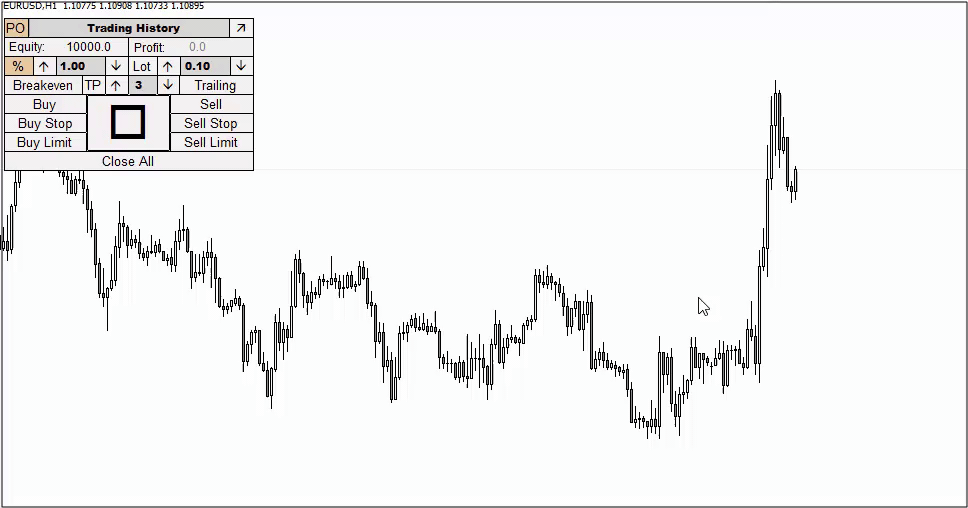
If you don’t use pending orders in buying and selling, you may take away it by clicking on the “PO” button within the higher left nook of the display screen. Within the instance under, I turned off pending orders and left solely rapid ones.
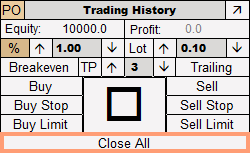
The “Shut All” button is meant to shut all orders on the present chart, in addition to to delete all pending orders on the present chart.
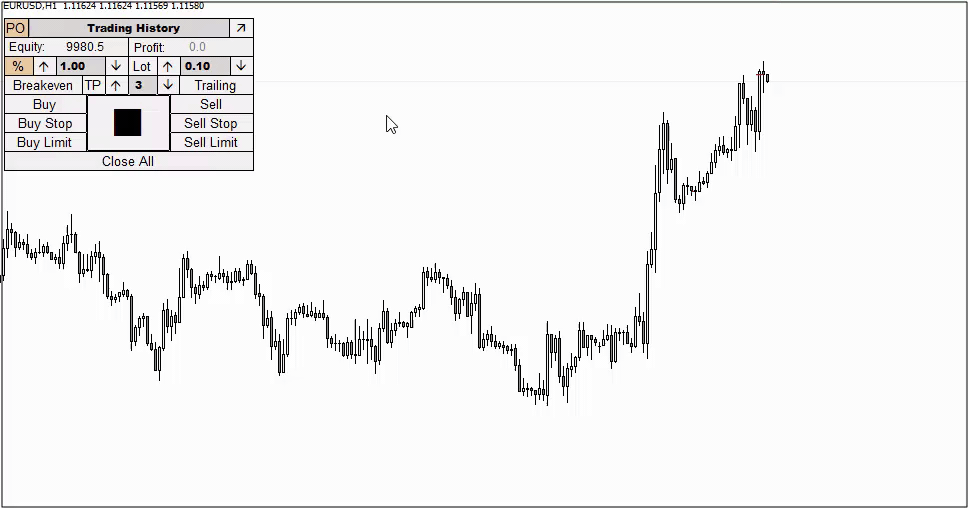
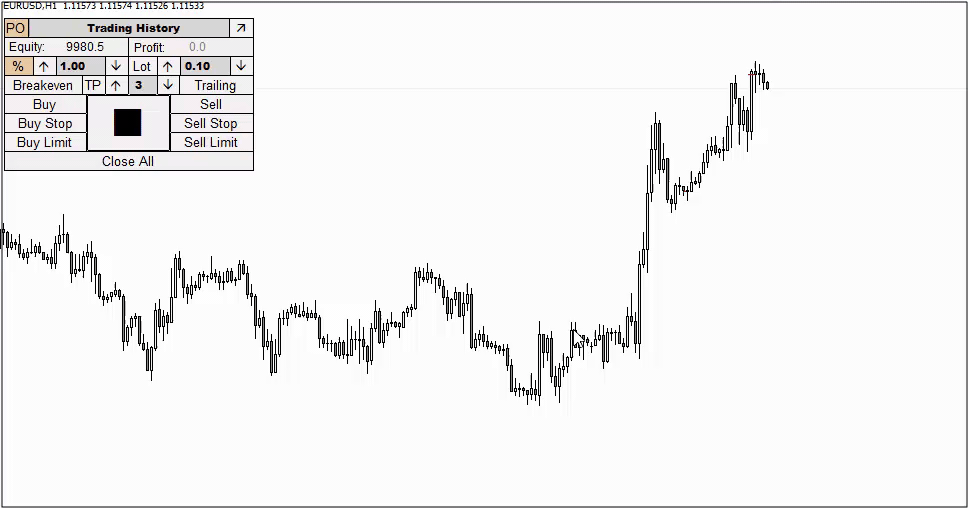
Panel activation
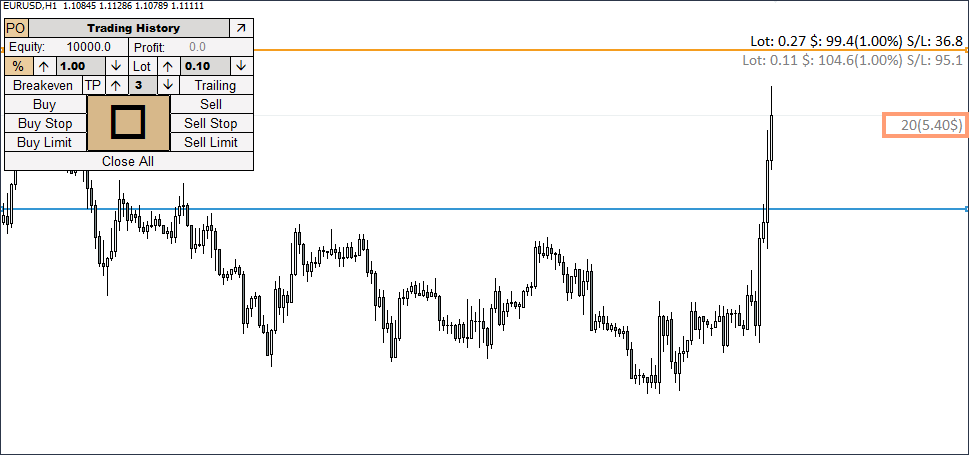
In an effort to activate the panel, you have to click on on the massive sq. button within the heart. After clicking it, two strains (orange and blue) will seem on the chart, and the unfold will even be displayed beneath the present worth line.
Within the model of the “Buying and selling Helper” panel for the actual market, every little thing occurs immediately. You possibly can see an instance of panel activation within the image under. That is defined by the truth that any motion carried out by the panel is made with the arrival of a brand new tick on the chart, and ticks on the present chart are fixed. The identical applies to opening trades, which we are going to speak about slightly later.
In “Buying and selling Historical past” every little thing works in an an identical method. Any motion (activating the panel, opening trades, and so on.) with shifting quotes happens immediately. However, if you’re paused, nothing will occur till you press the “F12” button, or flip off pause mode.
For instance, if we activate the panel whereas paused, then you have to carry out two actions:
- 1. Press the massive sq. button
- 2. Press the “F12” key, which prompts the arrival of a brand new tick
Under, utilizing an instance, I’ll first present how the activation of the panel works when quotes are shifting, after which how the activation of the panel works when paused by urgent the “F12” button.
Now let us take a look at the strains that appeared after activation.
Orange line – Potential Cease Loss degree for rapid and pending orders. Have to be positioned the place you plan to position your Cease Loss degree.
Blue line – Degree of a possible pending order. It does not matter which one. Have to be positioned the place you’re going to place a pending order.
Data above the orange line
Above the orange line is details about a future rapid order. From left to proper:
- Lot – Lot for the present buying and selling operation
- $ – Danger within the deposit foreign money in {dollars} (danger as a share of the deposit)
- S/L – Cease Loss dimension in pips
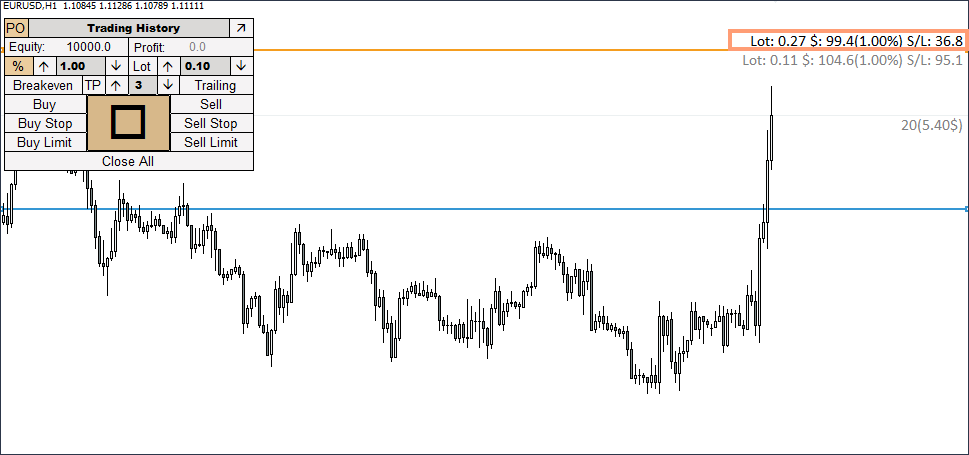
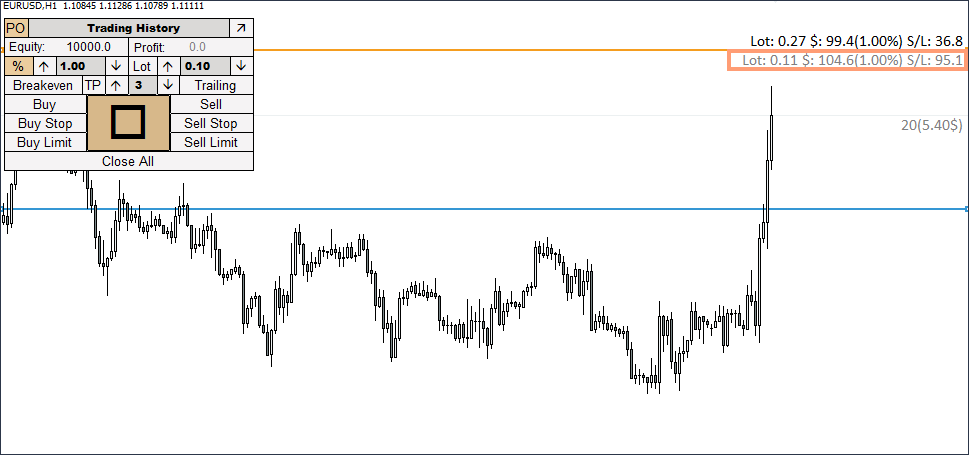
Data beneath the orange line
Under the orange line is info on a future pending order. From left to proper:
- Lot – Lot of the long run pending order
- $ – Danger within the deposit foreign money in {dollars} (danger as a share of the deposit)
- S/L – Cease Loss dimension in factors for a pending order
Unfold
Under the present worth line you may see the unfold for the long run buying and selling operation. It’s displayed in factors and in deposit foreign money (calculated primarily based on the lot worth of the rapid order).
Opening a right away order
To open a right away order, you have to drag the orange line to the extent of your future Cease Loss and click on on the “Purchase” or “Promote” button. If the road shouldn’t be energetic (there are factors to the precise and left of it within the energetic part), then you need to activate it by double-clicking on it with the left mouse button.
Under, utilizing the instance, I’ll open promote and purchase trades, having beforehand turned off pending orders. There isn’t any have to disable them. A direct order will work in any case.
Setting a pending order
To position a pending order, we want each strains: blue and orange.
Purchase Cease – transfer the blue line above the present worth and the orange line under the blue one
Promote Cease – transfer the blue line under the present worth and the orange line above the blue one.
Purchase Restrict – transfer the blue line under the present worth, and the orange line under the blue one.
Promote Restrict – transfer the blue line above the present worth, and the orange line above the blue one.
Buying and selling end result
After testing is accomplished, you may view the buying and selling ends in the “Graph” tab, in addition to obtain a full report on all transactions within the “Report” tab. In actual fact, this can be a form of analogue of the statistics that you simply get from an actual account.

Exterior parameters:
- startCoordX – The place of the panel concerning the X axis
- startCoordY – Panel Y place
- maxLotValue – The utmost attainable lot worth that this system opens
- maxPrcentValue – The utmost attainable share of danger
- useRiskRounding – rounding the danger share values
- pendingOrder – Whether or not or to not use pending orders
- Deposit – Select between Deposit and Fairness to show on the panel
- stepPercent – Share step
- steplot – Lot step
- sippage – Slippage
- traling– Worth for trailing cease
- takeProfit – The ratio for the take revenue perform
- diapason – Deviation of order management strains from the present worth
- showProfitLoss– Whether or not or to not show the present revenue on the precise above the order on the chart
- showSpread – Whether or not or to not show the present unfold above the present worth
- colorTextSpread – Unfold show textual content
- movelinesAfterOpenOrder – Offset of order management strains after opening an order
- pipsspread – Line offset vary.
- resetHotKeys– Hotkeys for shifting order management strains
- positonTextOnLine – Place for textual content above the order management line
- InfoTextFont – The font for the textual content above the order management line.
- InfoTextFontsize – Font dimension for textual content above the order management line
- colorTextLine – Data colour for the rapid order
- colorTextLinePending – Data colour for a pending order
- SLLineThick – Potential cease line thickness
- PendingLineThick – Line thickness of a possible pending order
- styleline – Potential cease line fashion
- styleLinePending – Line fashion of a possible pending order
- colerLine– Shade of the potential cease line
- colorLinePending – Line colour of a possible pending order
- colorTracing – Panel stroke colour
- colorTextBtn– The colour of the textual content on the panel
- colorFonButton – Panel background colour
- colorBack – Background colour of editable panel parts
- colorTextBack – Textual content colour of editable panel parts
Creator: Siarhei Vashchylka. For any questions, write to me in non-public messages. I additionally suggest subscribing to my updates. To do that, comply with the hyperlink to my profile and click on “Add to buddies“

