
On this article, we’ll run by the steps essential to create a bootable installer of the Mac working system, whether or not it’s so you’ll be able to set up the newest model of the macOS on a number of Macs, set up the newest macOS beta, carry out a clear set up of macOS, or simply to be ready with an emergency disk in case your Mac experiences issues and also you don’t need to hook up with the web in Restoration mode (otherwise you can’t entry Restoration mode).
If you wish to learn how to make a bootable set up of the newest macOS beta, macOS Sonoma, macOS Ventura, macOS Monterey, Massive Sur, Catalina, Mojave, or an older model of Mac OS X or macOS, you’ve come to the best place.
It’s also possible to use your bootable installer to set up macOS on a separate quantity of your arduous drive (or on a partition in case you are working an older model of the Mac OS). It’s additionally a hassle-free method to return to an older model of macOS and a terrific possibility for those who discovered downloading the installer took a very long time and also you don’t fancy spending the following few days downloading it a number of occasions on a number of Macs. As soon as is kind of sufficient!
Fortunately, making a bootable set up of the Mac working system grew to become a complete lot simpler when Apple launched OS X Mavericks again in 2013. With that model of Mac OS X, and all variations since, it’s been doable to make use of the Terminal command createinstallmedia to create a bootable installer of the macOS, on this article we’ll present you the way.
We’ll run by the next steps to create a bootable USB for Mac:
- Get the macOS installer information
- Create a bootable installer for macOS
- Select the proper createinstallmedia command
If you wish to run macOS on an exterior drive, which is barely completely different, now we have a separate article.
What you have to make a bootable USB for Mac
There are two important belongings you’ll must make your bootable set up drive: a USB stick (or a Thunderbolt drive) and the set up information. After you have these two issues the method shouldn’t take very lengthy.
A 15GB Flash Drive (no less than!)
We advocate a 15GB (or extra) drive – in actual fact extra can be advisable: the installer for Monterey was 12GB whereas Massive Sur’s installer was 13GB.
We advocate a Flash reminiscence stick, fairly than a normal arduous drive, as it will likely be faster. You’ll additionally profit from USB 3, or USB Sort C – this can be your solely selection if in case you have a more moderen Mac (in any other case you will want an adapter). If in case you have an M1 Mac you may truly be higher off with a Thunderbolt drive as a result of there have been some points with utilizing USB drives with the M1 Mac. Learn our round-up of the greatest SSD drives for Mac the place we advocate the LaCie Transportable SSD, however you would use any low-cost USB thumb drive.
Be aware: If in case you have information on the drive that you simply plan to make use of you will want to switch it to a different drive, or get a brand new drive, as it will likely be utterly formatted and erased.
The set up information
Relying on which model of macOS you’re working, and the model you need to to put in, you’ll both be capable of get the set up information from Software program Replace in System Preferences, the Mac App Retailer, or you’ll have to receive them from elsewhere.
The Mac App Retailer might be the simpler possibility, however there can nonetheless be difficulties relying on which model of macOS your machine is working, and for those who had been hoping to seize older set up information that may be tough – now we have one other article discussing learn how to become old variations of macOS.
It goes with out saying that you will want an web connection to obtain the software program and you could want it whereas putting in the model of macOS if it must verify for firmware or affirm your iCloud credentials.
Step 1: Get macOS installer information
As we stated already, the way you get the set up information will rely upon the model of macOS you’re working at present and the model you need the installer for. Beneath we’ll have a look at learn how to get numerous macOS installers – together with learn how to become old variations of the macOS and even Mac OS X. We do have a devoted article about Find out how to obtain outdated Mac OS X and macOS variations.
Find out how to get macOS Sonoma installer
macOS Sonoma might be discovered on the or downloaded by way of Software program Replace for those who haven’t but put in it.
Obtain the set up information, however be sure you cease earlier than the precise set up begins. When the set up begins the information will probably be disposed of, so you have to step in beforehand!
As soon as the set up information for Sonoma are downloaded it is possible for you to to seek out them within the Functions folder by way of the Finder. It should look one thing like this:
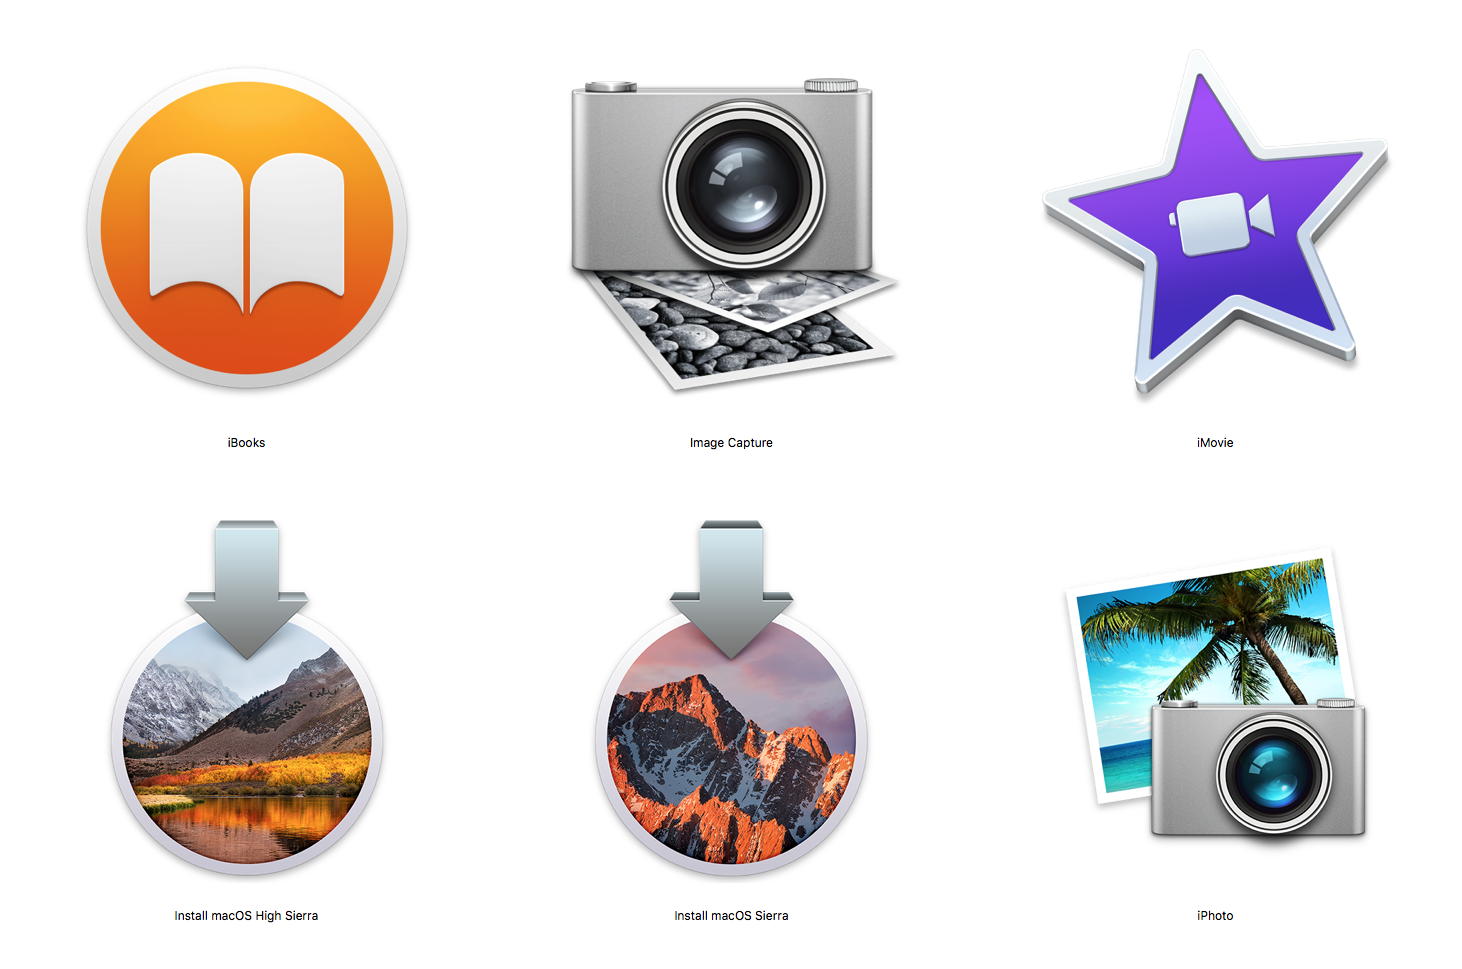
It’s good to use these set up file to make the bootable installer in your USB stick. Directions for which are under.
Find out how to get a macOS beta installer
If you wish to check out the newest beta you’ll want to join the beta program, you’ll then be capable of obtain the installer information.
We clarify learn how to get and set up the macOS beta right here. We even have included the createinstallmedia code you’ll want for putting in the newest beta by way of a USB under.
Find out how to get Ventura, Monterey, Massive Sur or older installer
To get the installer for macOS Ventura, Monterey or Massive Sur comply with these steps:
- Click on these hyperlinks to get the model of macOS you need from the Mac App Retailer. Chances are you’ll want to shut the Mac App Retailer and use Safari for this to work.
- Click on on Get and the set up information will begin to obtain.
- You may even see a warning asking for affirmation that you simply need to obtain the software program in case you are already working it.
- As soon as the installer is downloaded DO NOT click on on set up as you want the set up file for the following stage of this tutorial.
Getting outdated variations of macOS is a bit more tough for those who don’t know the place to look, however Apple supplies dmg information of those older macOS variations(you have to obtain them in Safari). A disk picture named InstallOS.dmg will obtain and as soon as it does you have to find the pkg installer contained in the disk picture.
Step 2: Create a bootable installer for macOS
Now you may have the set up information, we are able to transfer on to the method of constructing the bootable installer.
Be aware, the createinstallmedia technique described right here doesn’t work below OS X 10.6 Snow Leopard or earlier – it requires OS X 10.7 Lion or later. Additionally, the processes have modified barely since Mavericks so in case your seeking to create an set up of one of many ‘Cat’ variations of Mac OS X it’s best to learn this older article as a substitute.
Since Mavericks, making a bootable set up of macOS requires a single command in Terminal. The createinstallmedia command makes it doable to create a bootable copy of an installer on any drive that’s linked to your Mac. You’ll discover all of the createinstallmedia instructions under, together with the Monterey createinstallmedia command.
Be aware that the createinstallmedia command erases something in your exterior disk although, so be sure there’s nothing on it that you simply want.
These are the directions to comply with to create your bootable USB – observe there will probably be tiny changes relying on the installer you require:
- Plug in an exterior drive with no less than 15GB area as that’s how a lot the installer would require.
- Launch Disk Utility (press Command + spacebar and begin to sort Disk Utility).
- Earlier than this subsequent step, observe: in case you are working Excessive Sierra or later you will want to click on on the View dropdown under the shut decrease buttons. Select Present All Units from the choices. Now you will note the exterior root drive along with the amount under it.
- Choose the basis drive within the sidebar (the following step received’t work for those who solely choose the amount).
- Click on on Erase.
- Select Mac OS Prolonged (Journaled) because the Format.
- Select GUID Partition Map because the Scheme.
- Your drive will in all probability be known as ‘Untitled’ by default, you would give your drive a reputation equivalent to ‘macOS’ or ‘USB’. (Be aware you will want to exchange the time period ‘MyVolume’ within the createinstallmedia command under with no matter title you give your drive).
- Click on on Erase.
- Wait whereas Disk Utility creates the partition and units up the drive (this may take a couple of minutes).
- Then click on Completed.
- Now you’re able to make your bootable installer: open Terminal (the best manner is to press Command + spacebar after which begin typing Terminal. In any other case you’ll discover it within the Utilities folder).
- Copy the textual content that corresponds to the model of macOS you’re putting in into Terminal – you’ll discover the textual content within the part under. Just be sure you use the title you may have given your drive – e.g. change Untitled to MyVolume.
- Click on Enter/Return.
- Terminal will ask for a password. That is your consumer password. Be aware you received’t see characters seem as you sort it in, that’s nice. After typing in your password, press Enter.
- Terminal might also ask for permission to entry the detachable drive. Click on okay.
- Terminal will warn that it’s about to erase the drive (so be sure there wasn’t something vital on it – there shouldn’t be for those who already formatted it as per the directions above). If you wish to proceed press Y after which Return. The method can take some time, you’ll see “Erasing Disk: 0%… 10%… 20%… 30%…100%…

- Now Terminal will spend a couple of minutes copying the installer file to your drive. “Copying installer information to disk… Copy full” and so forth will seem within the Terminal window.
- When Terminal has completed copying the installer you will note the phrases Copy full and Completed seem.

Step 3: Use the USB installer to replace your Mac
Now you may have the installer on the exterior drive you should use that to put in copies of macOS on a number of Macs (so long as the Macs are supported by that model).
- Plug the exterior drive into the Mac that you simply need to set up the macOS on.
- Begin up the Mac. If in case you have an Intel-powered Mac maintain down the Choice/Alt key whereas it’s booting up. If it’s an M1 Mac then you definately simply press and maintain the on change till you see numerous choices.
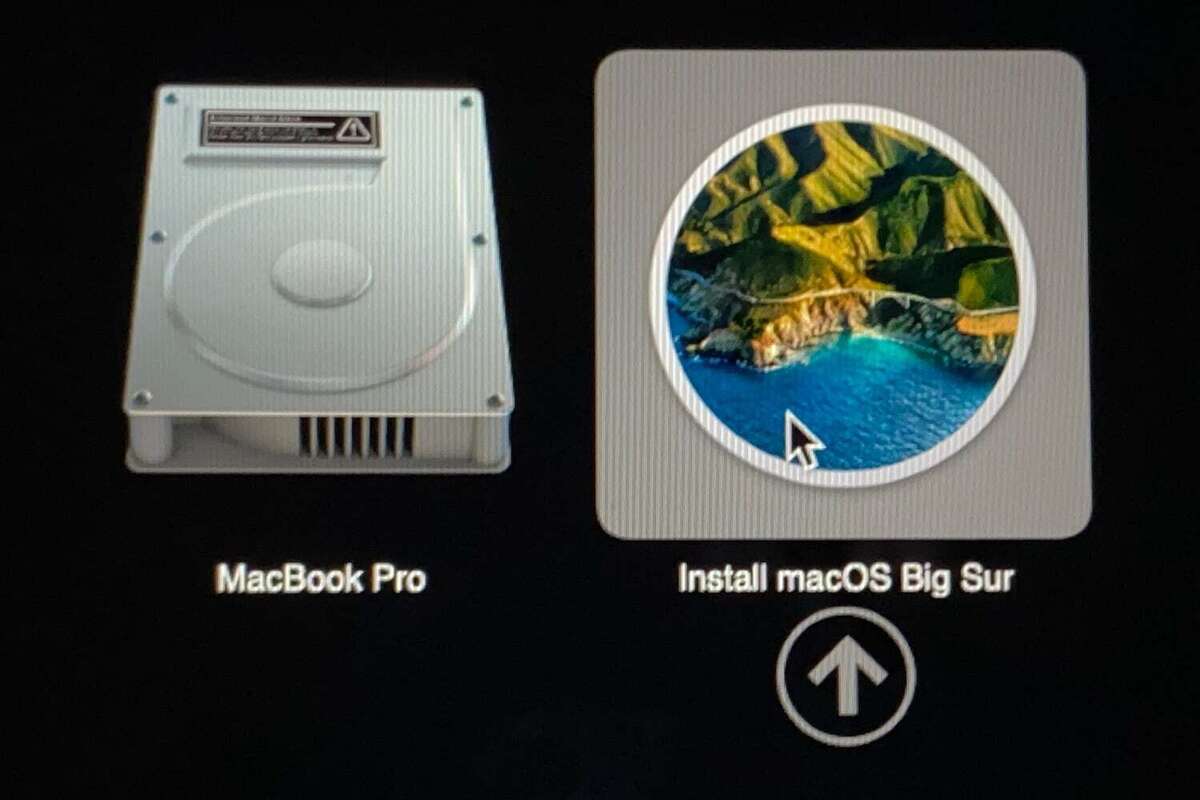
- Your Mac will finally show the Startup Supervisor, click on in your exterior drive to pick out that because the startup disk. Your Mac will now begin up in Restoration Mode.
- Click on on Set up macOS after which click on on Proceed. The model of macOS on the bootable drive ought to begin to set up in your Mac now. (If you wish to do a clear set up, which implies wiping your Mac first, comply with the directions right here: Find out how to do a clear set up on a Mac.
- Finally, the Mac ought to restart. Wait whereas the replace takes place after which get pleasure from your newly up to date working system.
Foundry
It’s also possible to run the Mac working system immediately from an exterior drive fairly than your built-in startup disk, that is useful in case you are testing new variations of the Mac OS. The method is completely different to the one described above although, and we cowl it right here: Examine
Find out how to run macOS on an exterior arduous drive right here.
Be aware that older variations of macOS used “applicationpath” whereas newer ones don’t – for those who use the command you’ll get an error (now we have the code for the all variations of macOS and Mac OS X under).
The createinstallmedia command will probably be barely completely different relying on which model of macOS you’re wanting to make use of.
Be aware MyVolume might have a unique title for you, for instance it could be USB or Untitled. Examine in Disk Utilities, it’s the title of the exterior disk you’re utilizing.
Beware that now we have heard of individuals copying and pasting within the -- just for them to vary to a – in Terminal, so watch out of that. There ought to be two dashes!
Sonoma
sudo /Functions/Set up macOS Sonoma.app/Contents/Sources/createinstallmedia --volume /Volumes/MyVolume
Sonoma beta
sudo /Functions/Set up macOS Sonoma beta.app/Contents/Sources/createinstallmedia --volume /Volumes/MyVolume --nointeraction
Ventura
sudo /Functions/Set up macOS Ventura.app/Contents/Sources/createinstallmedia --volume /Volumes/MyVolume
Monterey
sudo /Functions/Set up macOS Monterey.app/Contents/Sources/createinstallmedia --volume /Volumes/MyVolume
Massive Sur
sudo /Functions/Set up macOS Massive Sur.app/Contents/Sources/createinstallmedia --volume /Volumes/MyVolume
Catalina
sudo /Functions/Set up macOS Catalina.app/Contents/Sources/createinstallmedia --volume /Volumes/MyVolume
Mojave
sudo /Functions/Set up macOS Mojave.app/Contents/Sources/createinstallmedia --volume /Volumes/MyVolume
Excessive Sierra
sudo /Functions/Set up macOS Excessive Sierra.app/Contents/Sources/createinstallmedia --volume /Volumes/MyVolume
Sierra
sudo /Functions/Set up macOS Sierra.app/Contents/Sources/createinstallmedia --volume /Volumes/MyVolume --applicationpath /Functions/Set up/ macOS/ Sierra.app
El Capitan
sudo /Functions/Set up OS X El Capitan.app/Contents/Sources/createinstallmedia --volume /Volumes/MyVolume --applicationpath /Functions/Set up OS X El Capitan.app
Yosemite
sudo /Functions/Set up OS X Yosemite.app/Contents/Sources/createinstallmedia --volume /Volumes/MyVolume --applicationpath /Functions/Set up OS X Yosemite.app
For extra recommendation learn: Find out how to begin up your M1 or M2 Mac from an exterior drive

